
Introduction
Exhibitions and corporate events move quickly. A company may need booth graphics, banners, brochures, name badges, giveaways and directional signs all at the same time. This checklist helps you plan the printed materials early so your event branding looks consistent and arrives on time.
Confirm event dimensions and rules
Before designing anything, confirm stand size, wall dimensions, height limits, fixing rules, electrical access and organiser guidelines. Exhibition venues often have specific rules for backdrops, hanging signs and installation timing.
Create a branding checklist
List every touchpoint visitors will see: entrance graphics, booth name, counter branding, banners, brochures, product sheets, staff badges, bags and giveaways. This keeps the project organised and prevents last-minute missing items.
Backdrops
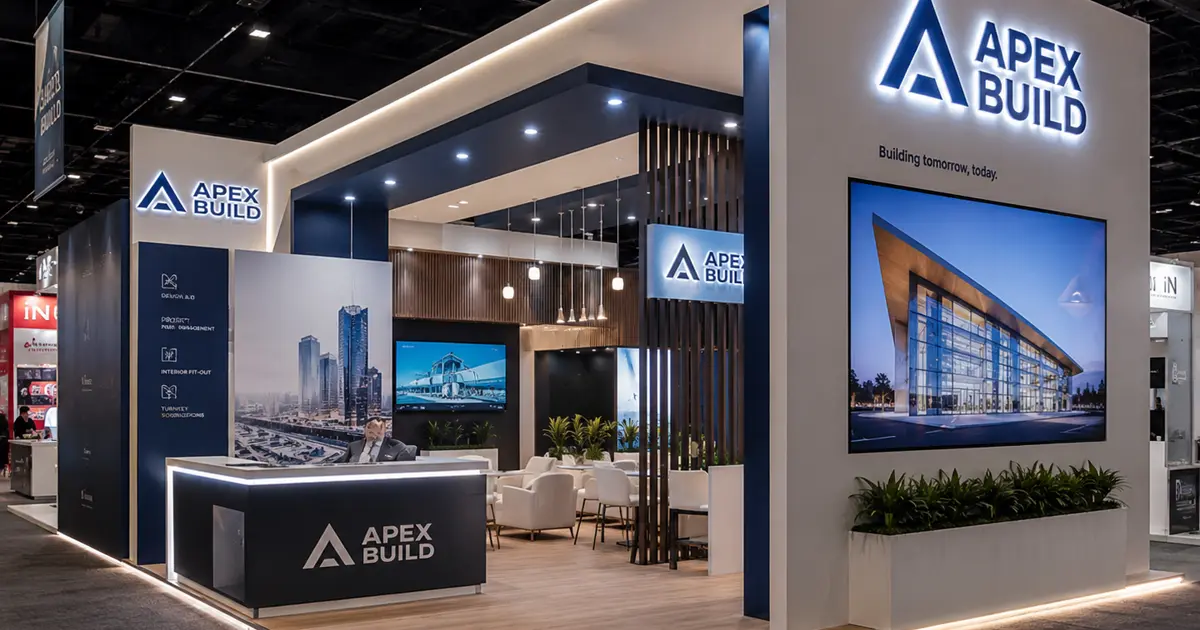
Backdrops create the main visual frame for photos, presentations and booth presence. Confirm size and viewing distance before artwork is finalised. Large graphics need high-resolution files and clean brand assets.
Pop-up displays
Pop-up displays can create a larger branded wall without permanent construction. Artwork should be checked panel by panel so important text does not fall across joins or curved edges.
Booth graphics
Booth graphics include wall panels, counters, fascia boards and product display areas. The design should guide visitors naturally from the brand name to the offer and then to the conversation area.
Directional signs
Directional signs help visitors find your stand, registration desk, meeting room or product demo area. Simple arrows and readable typography are more important than heavy decoration.
Registration desk branding
The registration or reception desk is often the first point of contact. Counter graphics, table covers, name boards and small signs can make this area feel organised and professional.
Name badges
Name badges should be readable at conversation distance. Include name, role and company branding without overcrowding. If badges need lanyards, plan both items together.
Brochures
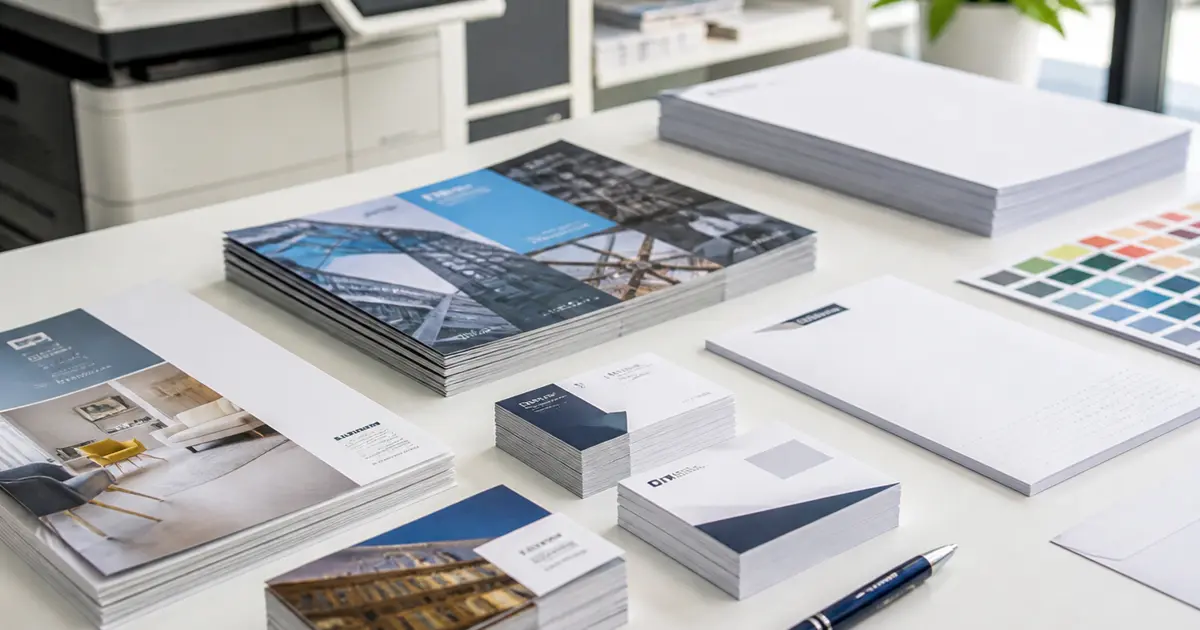
Brochures should support the sales conversation. Keep them focused on key services, benefits, specifications and contact details. Choose paper and folding based on how visitors will carry them.
Flyers
Flyers are useful for high-volume handouts, offers or event-specific messages. They should be easy to scan and linked to a clear next step, such as a QR code or contact form.
Business cards
Make sure staff have enough business cards before the event. If multiple team members are attending, confirm names and phone numbers early to avoid urgent reprints.
Promotional gifts
Promotional gifts can extend the brand beyond the booth. Choose useful items that match the audience and event, such as notebooks, pens, bottles, bags or gift sets when suitable.
Branded bags
Branded bags help visitors carry brochures and giveaways while keeping your logo visible around the venue. Check bag size and handle strength based on what will be placed inside.
Product catalogues
Catalogues need more planning than flyers because pagination, product data and proofreading take time. Confirm the final product list before print production starts.
Installation planning
Large graphics may need installation tools, venue access, ladders or approved fixing methods. Confirm who will install each item and when access is available.
Artwork approval deadlines
Set internal approval deadlines for design, proofreading and print-ready files. Leaving approvals until the final days increases the risk of errors.
Transport and storage
Plan how banners, stands, brochures and giveaways will be packed, labelled and transported. Reusable stands should also have storage plans after the event.
Final pre-event checklist
Before the event, confirm quantities, delivery address, contact person, installation timing, artwork approvals and any venue restrictions. A short checklist can prevent expensive last-minute stress.
How to prioritise if time is short
If the event deadline is close, prioritise the items that affect visibility and customer conversations first. The main booth backdrop, roll-up banners, business cards and brochures usually matter more than decorative extras. Once the core items are approved, secondary materials such as bags, stickers or small giveaways can follow if time allows.
Separating must-have items from nice-to-have items helps the production team plan realistically and reduces the risk of delaying the entire event package because one small item is not ready.
Keeping event branding consistent
Event materials often come in different sizes and formats, but they should still feel like one brand system. Use the same logo version, colours, headline style and contact details across banners, catalogues, badges and giveaways. This helps visitors recognise your stand and remember the company after the event.
Before final approval, review every item together. A quick combined review can catch inconsistent phone numbers, old logos, mismatched colours or outdated service descriptions.
Helpful AQSA Print Links
Frequently Asked Questions
When should exhibition printing be planned?
Start as soon as stand dimensions and event rules are confirmed, especially for large graphics and custom displays.
What files are needed for large banners?
High-resolution print-ready PDF files with correct dimensions, bleed where required and approved brand assets are recommended.
Can one supplier handle banners, brochures and gifts?
AQSA Print can support multiple event branding items, which helps keep colours, branding and delivery coordination consistent.
Related Articles
Printing Guides
Digital Printing vs Offset Printing: Which Is Better for Your Project?
A practical comparison of digital and offset printing for business cards, brochures, catalogues, packaging and commercial print projects.
Read Article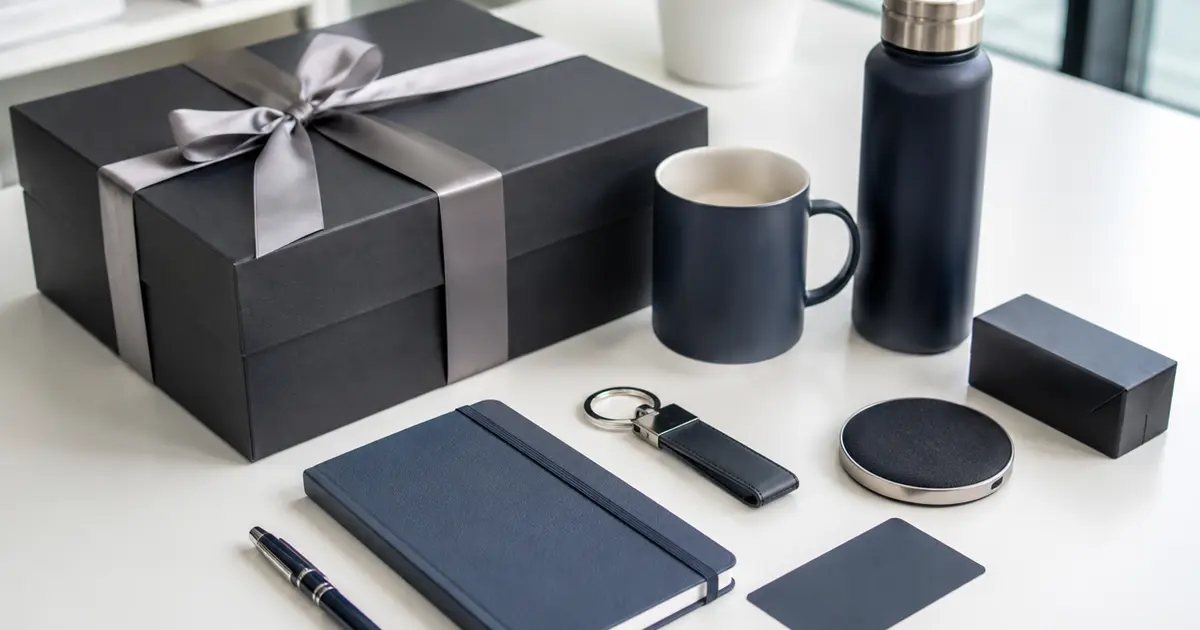
Corporate Gifts
Corporate Gift Ideas for Businesses in Saudi Arabia
Explore practical branded gift ideas for employees, clients, events and promotional campaigns, with guidance on printing and packaging.
Read ArticleRequest a quotation
Share your project details with AQSA Print so the team can recommend suitable materials, production methods and timelines for your business in Riyadh or Saudi Arabia.
Request a quotation